Group Management
A group consists of a set of student accounts, usually belonging to students in the same class. Each group is assigned one main teacher.
Additional teachers can be added to help manage the group as needed.
A teacher account can access and manage multiple groups. The super administrator or a school administrator can also manage groups.
Note — One or more of these management functions may be disabled for teacher accounts if permissions have been revoked by an administrator. In such cases, the function will appear grayed out in the interface, and the administrator responsible will be displayed when the cursor is held over it.
Adding a Group
Groups can be added in two ways:
-
Click the Groups tab, then click the Add a Group button, fill in all the required fields, assign the group to one or more existing teacher accounts or create a New teacher account to be automatically assigned to the group, then click Add.
Note — Only super and school administrators can create new teacher accounts when adding a group, and only a single account can be created during this step. If no existing teachers are assigned to the group first, the newly created account will be automatically attributed to the group as the main teacher.
-
Import an Excel or CSV file to create teacher and student accounts; groups listed for each account in the upload file will be automatically created if they do not already exist in the system and assigned to the account in question.
Editing a Group
Edit a group from the Group Summary screen.
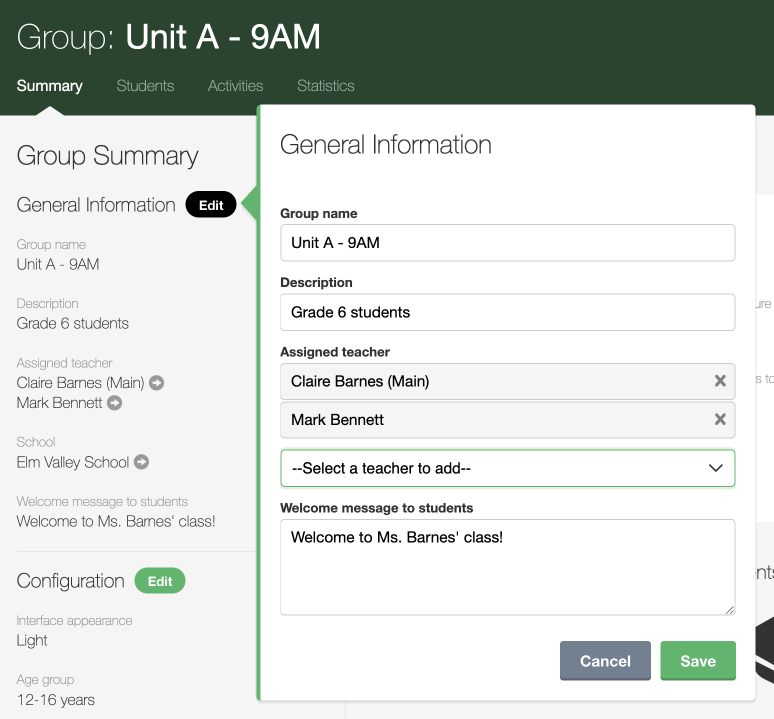
General Information
Click Edit in the General Information panel to update the group’s general information.
- Group name — A name that serves to identify the group
- Description — An optional description for additional details about the group
- Assigned teacher — The teacher accounts assigned management privileges for the group
- Welcome message to students — An optional personalized message to display on the students’ homepage
Group Settings

- Interface appearance
- Light
- Dark
- System value
- Student’s choice
- Age group
- Ages 6–11
- Ages 12–16
- Ages 17+
- Allow students to access games
- Allow students to access practice texts
- Allow students to access improvement activities
- Allow students to change their password
- Allow students to view video replay
- Allow students to activate sound effects
- Manage display options for activities
Targets and Grades
Set or update the unit of measure for speed as well as speed and accuracy targets for students in a group by clicking the Edit button in the Targets panel.
Define a grading scale for student performance by clicking the Edit button in the Grading panel.
Deleting a Group
Groups can be deleted in two ways:
- Check them off on the list that appears under the Groups tab, then select Remove from the More menu. Confirm that you have read the warning in the pop-up window and click Remove.
- Go to the corresponding Group Summary screen and select Delete group from the Actions menu. Confirm that you have read the warning in the pop-up window and click Remove.
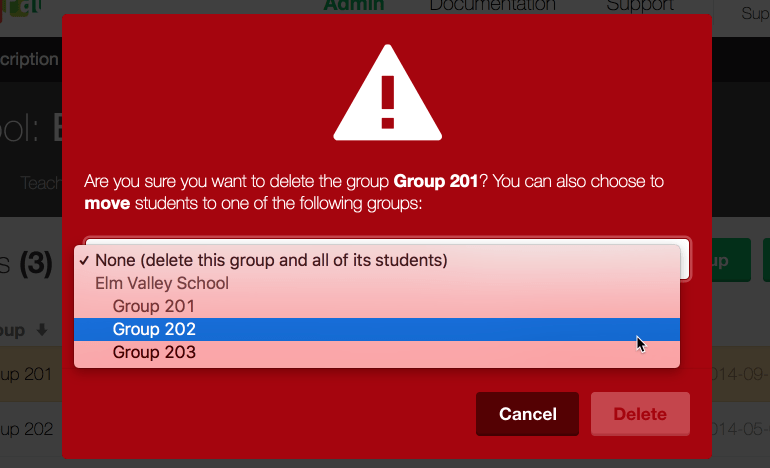
If a group being deleted contains student accounts, a pop-up window will offer you the choice of deleting those accounts or moving them to another group. Select the appropriate option, then click Delete to remove the group.
Live Supervision
Supervise the activity of all the students in a group in real time from the dynamic dashboard in the Student Accounts panel on the Group Summary screen.
Each tile represents a different student account and indicates it status (Online or Offline) and the activity underway, if any.
Tiles are displayed for all student accounts by default. Click Online or Offline in the top right corner of the panel to filter them by status.
